
One of my goals this month is to cook more, especially to try new recipes. This is the Buttermilk Chicken from Salt, Fat, Acid, Heat, which I’ve had marked for years, but have never made. Until now!
When I tweeted about this, many people said they were interested in learning more. So I’m sharing the recipe and how the process went over here, because people want to know.
Here’s the recipe (although I also highly recommend getting the book because it’s just so useful it explains so many things about food and cooking!)
So the first thing you need to know is that this is a two day affair. You will salt the chicken, then place it in the buttermilk brine (because that’s what it is) the first day. On the second day, you will roast in a very specific manner, but it’s one that makes sense.
Also please, if you do not have one, get a plastic cutting board exclusively for raw chicken prep before you make this. It will make your life much easier. (I am a fan of one like this, which has color so it’s easy to distinguish; I haven’t used that one, but I do have this one.) I do have to be more careful about salmonella etc. than most people, but by using this system and by keeping antibacterial cleaner around to mop up spills that might happen, I have never had an issue (knock wood.) So, there’s your basic chicken safety lesson. :) I also toss the cutting board RIGHT in the dishwasher when I’m done with it, as well as anything else that touched the chicken.
Last note before we start the specifics: Samin (the author) is very specific about salt. She uses Diamond Kosher salt, and that’s what the measurements are for when she says “kosher salt” here.
DAY ONE: So, you get the chicken, you salt it—heavily—and let it sit for 30 minutes. Then you come to the buttermilk brine. This is where I think I made my mistake.
The stores are all out of buttermilk. So I did “clabbered milk”, which is milk+ vinegar or milk+lemon juice. I don’t think it sat long enough, so there wasn’t as much acid as the recipe should’ve had, which affected the final taste. (It still tasted fine, but I think it was missing the tang.) You will see, in the recipe, that you add salt to the buttermilk, hence, brine.
After the chicken has sat and the buttermilk is ready, you place the chicken in gallon size plastic bag (DO NOT get a big chicken for this it won’t work! It has to fit in the bag! Or make sure you have an appropriate sized bag for a larger chicken!), add the buttermilk and then seal. Squish it all around, put the bag on a rimmed plate or the pan you’ll use to cook it (I did the latter), and let it sit in the fridge up to 24 hours.
DAY TWO: I rotated the bag as my coffee was brewing, so that the other side could have a chance to really sit in the mixture. I turned it one more time before I took it out, but you can not turn it at all!
ONE HOUR before you want to put the chicken in, take it out (still in bag) and let it come to room temp. This affects the final color and juiciness and done-ness!
Now, the instructions are sort of weirdly specific about how to position the chicken in the oven. Follow the instructions. Just do it. Because that’s how you get that gorgeous skin that is so good, my friends.
This is a great company chicken. If you like to make gravy, this has a ton of pan drippings for you to use. I would serve it with Samin’s Bright Cabbage Slaw (another revelation I have discovered from Salt, Fat, Acid, Heat this month). That slaw is amazing and also perfect for company. On the show (which is on Netflix), she serves it with rice which also looks really good. And of course a green salad with any vinaigrette would be perfect as well.
The great thing about this recipe is that everything is perfectly cooked. The breasts aren’t dry, the dark meat isn’t over done, it’s perfect in every way. Next time I might still stuff a lemon up it for more citrus, because I just love making chicken that way. But we’ll see!
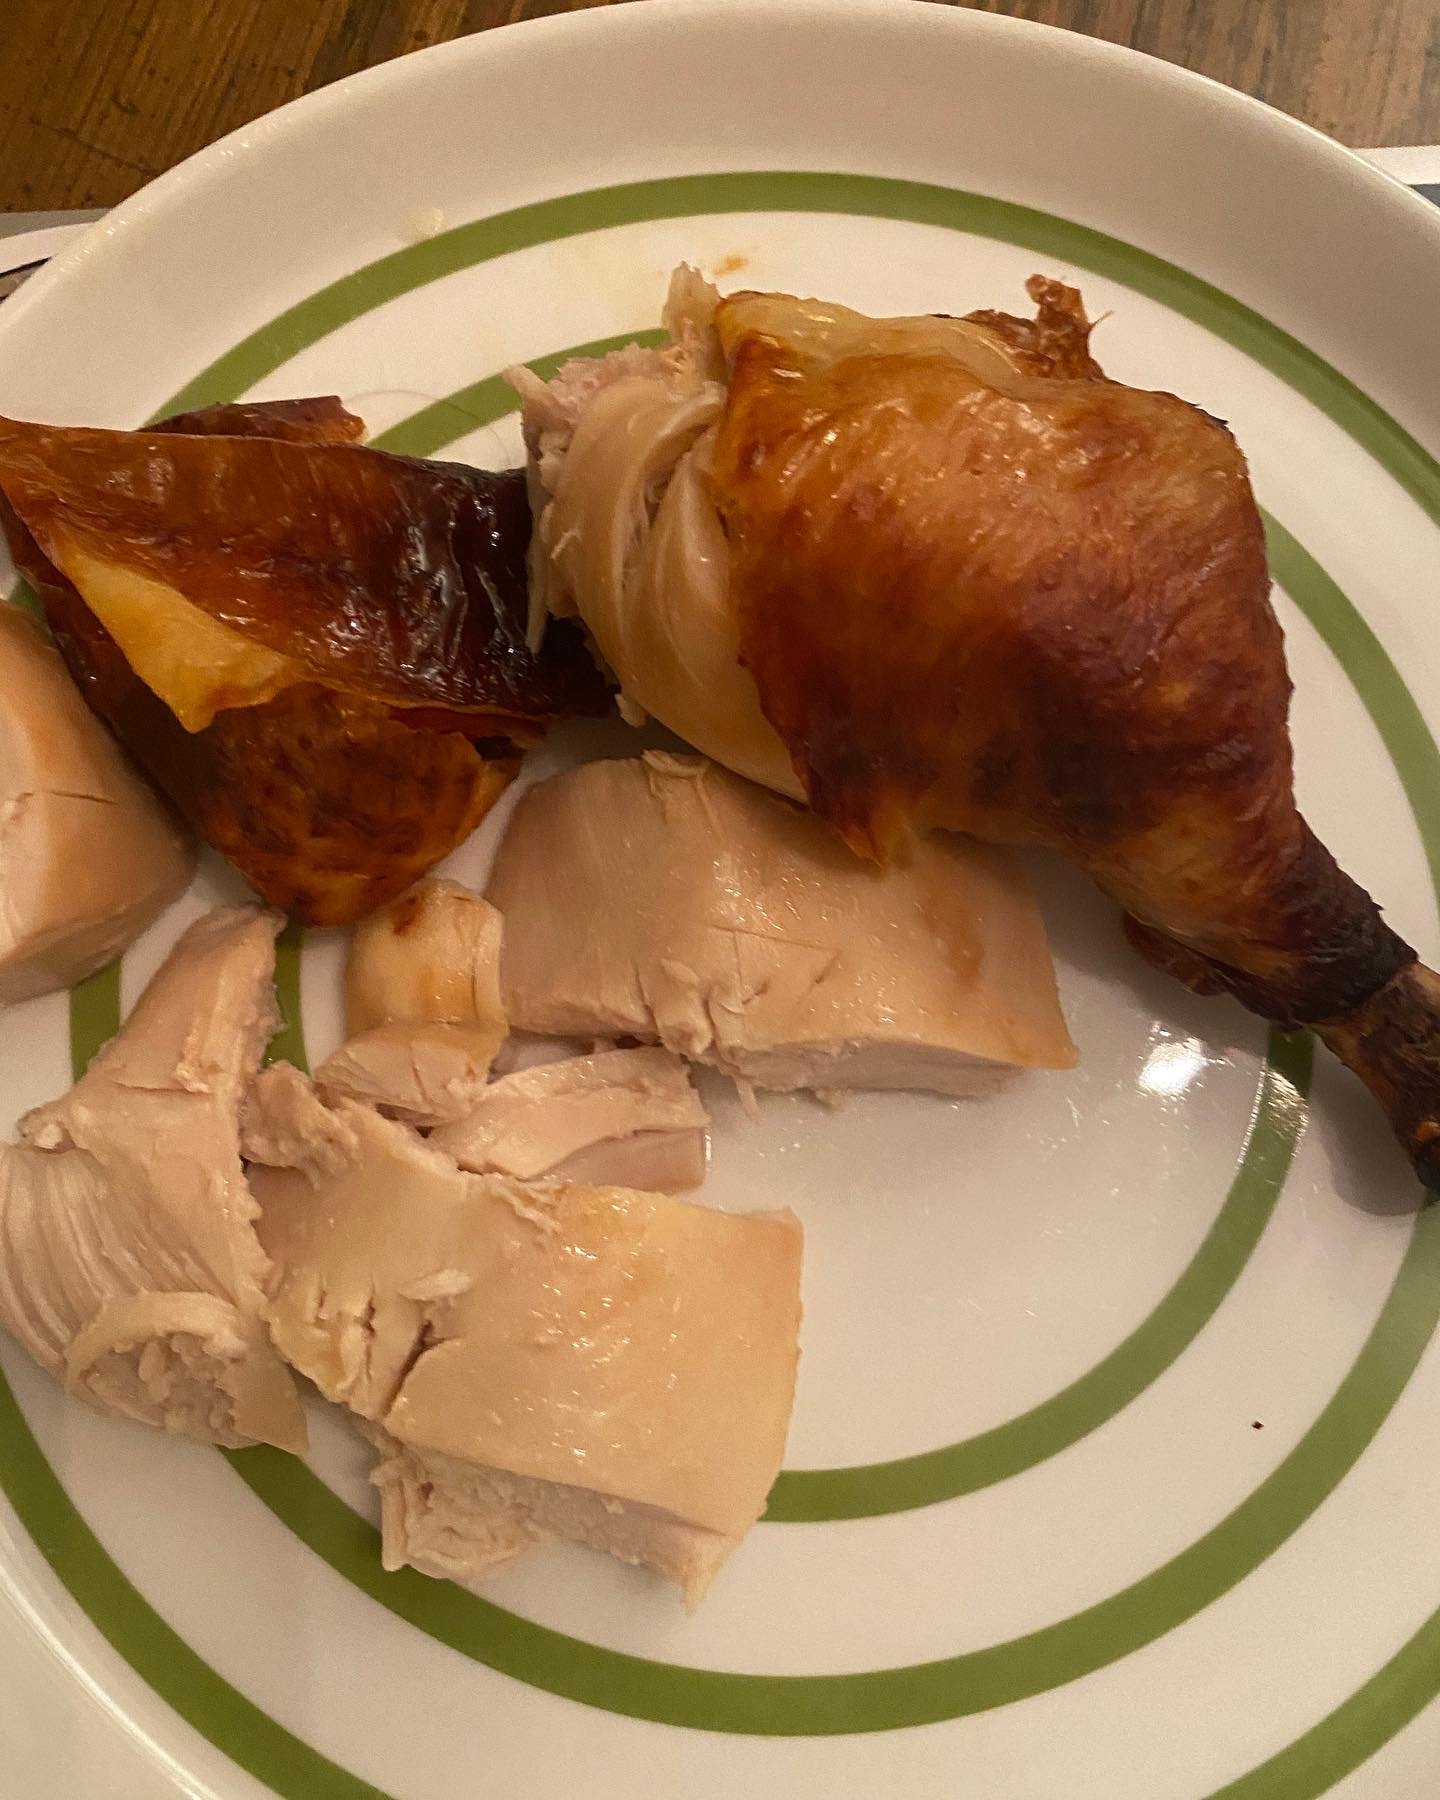
Plated!
Give it a try! It’s yummy!